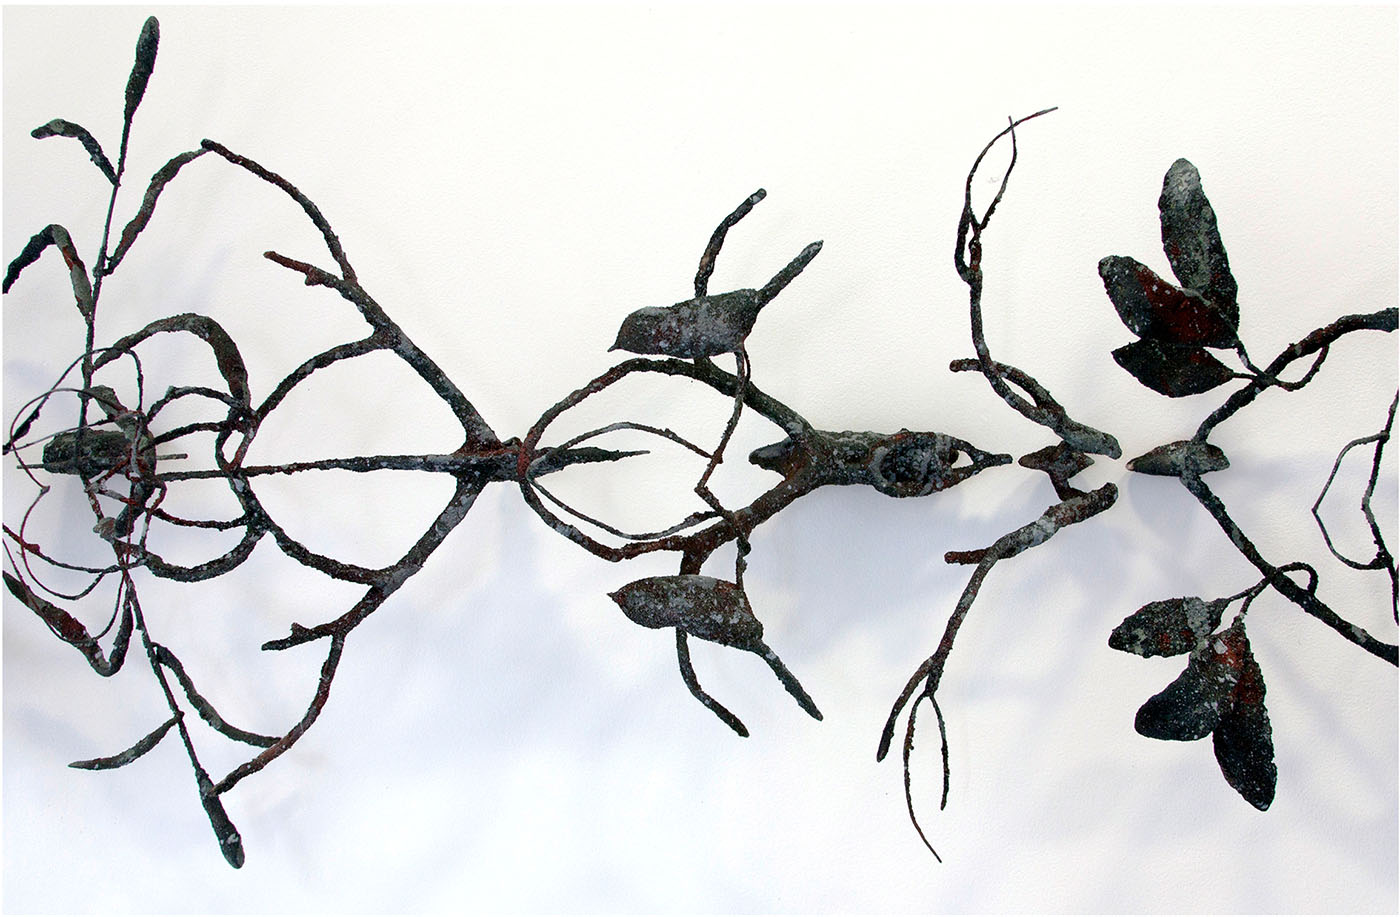
Joe Walters uses innovative techniques to create his strong, durable and lightweight art work. The sculptures are unique and carefully hand crafted by the artist. No existing natural material, appropriated objects or mold making are used.

Typical sculpture materials include: steel rod and sheet, aluminum mesh, polymer clay, modelling compounds, polystyrene foam, glues, sand and paint depending on the object to be made.
All objects begin with an armature of brazed lightweight steel rod. Aluminum mesh is threaded through the rod and polymer clay is pressed into it for example, to create a leaf. More volumetric forms such as branches or animals are hollow, with aluminum mesh formed over the armature, then the application of polymer clay. The pieces are then placed in a curing oven where the clay is fused into a hard, plastic-like state. Surfacing starts with a layer of resin glue, epoxy or other adhesives with sand embedded into it. The painting involves multiple applications of acrylic paints over an enamel base coat. Numerous options are available for specific effects, i.e. iron oxide derived pigments for a rust appearance, metallic washes for an ashen, charred look or blends of blues, yellow and white for verdigris. For work with a highly reflective surface, the glue and sand stage is skipped and heavy aluminum roofing paint is brushed directly over the cured polymer clay.
Sculptures of stones are constructed with laminated and carved polystyrene foam over a thin plywood base. Modelling compound is applied over the foam and sculpted to desired effect. A base coat of enamel paint follows. Heavy glue with embedded sand is layered over the piece and, when glue has dried wire brushed to remove excess sand and refine the color of the sculpture. The result, despite appearances, is very lightweight.
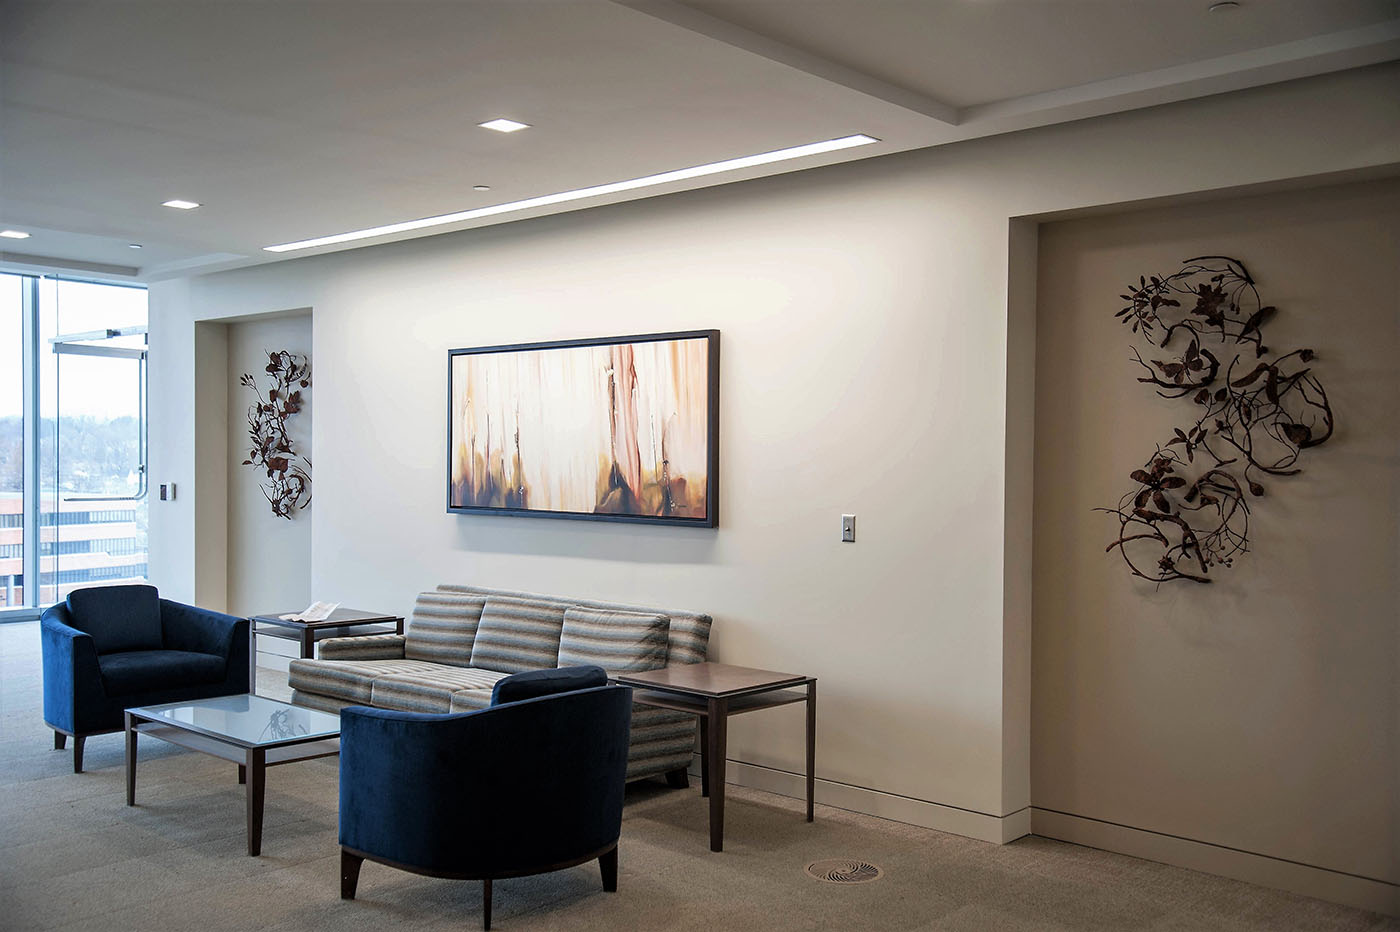
Since all of the sculptures are relatively lightweight, mounting on any standard wall material is simple. Each element has a thin steel rod extending from the back with a right angled “U” shaped steel rod attached. Two corresponding holes are drilled into wall to accept the mount.

My commissioned work is site-specific and I work closely with design consultants and/or individual clients to accommodate their needs. Usually I ask for dimensions, elevation drawings and photos of the site then develop concept sketches for approval. Once a direction is chosen and work has begun, in-process photos will be submitted upon request. I compose the work in my studio on heavy paper over the layout wall which creates a template. The template can then be taken to the site, placed on the wall in position and holes drilled as indicated. Template is removed and pieces installed as it existed in my studio. This installation method can easily be done by others or, if requested, I can come to the site to supervise and assist.

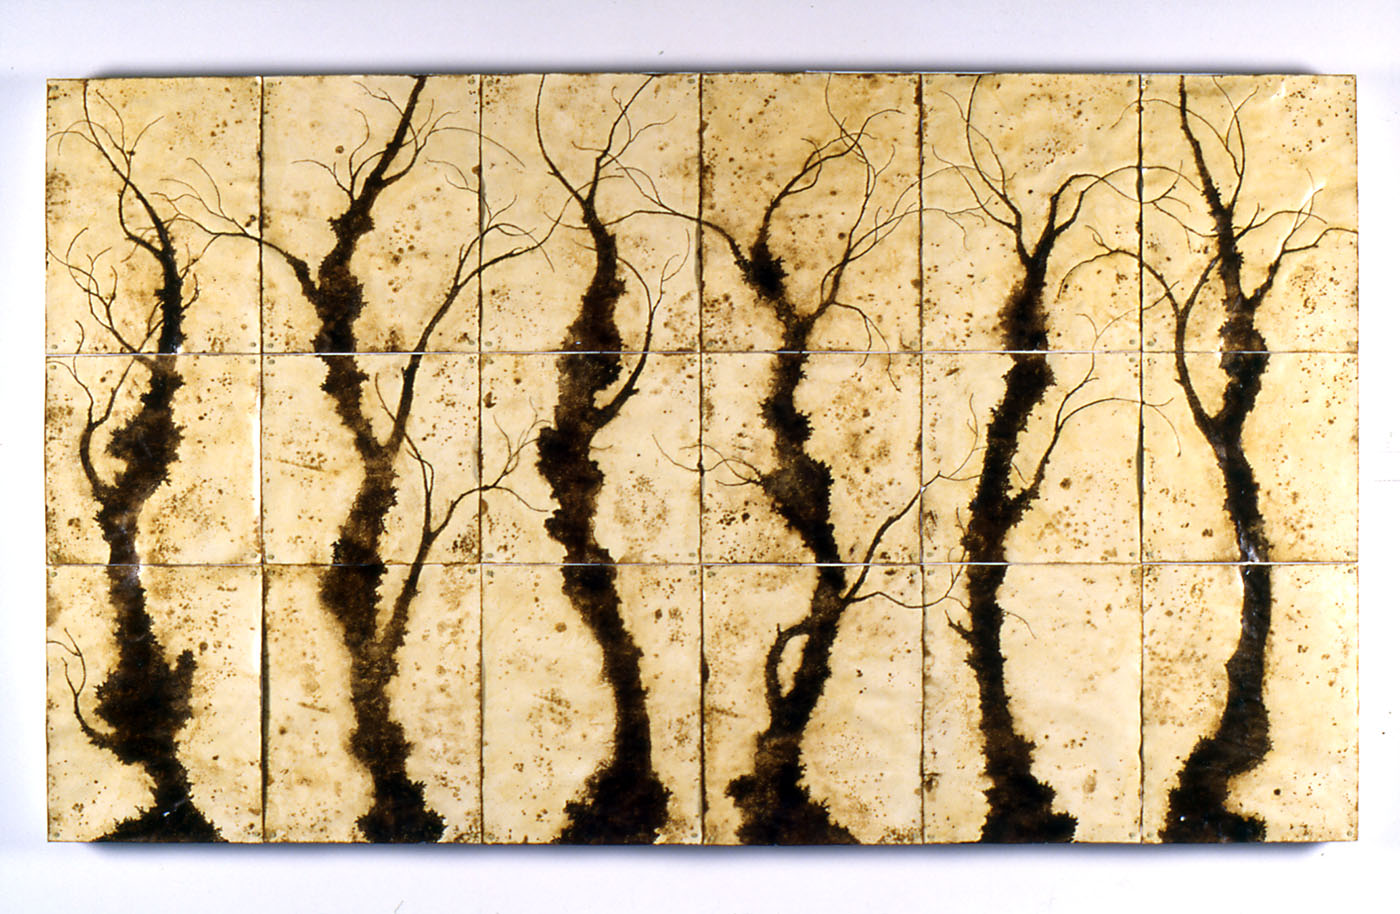
2-D work begins with a drawing on archival paper. A sharp metal stylus is used to punch holes through the drawing. These can be outlines or, where large dark areas are present, multiple holes punched in a very dense pattern. In the images with water reflections, the paper is folded before punching to take advantage of the process to get this effect. The paper is then soaked in water and scrubbed with an abrasive pad which opens up the holes and thins the paper in certain areas. The drawing side of the paper is flipped over and a staining process is begun using powdered tea and/or coffee which flows through the punched holes to create the positive areas and slightly discolor the paper where it was weakened by the abrading process. Throughout the making, a heat gun is used to dry the paper to allow multiple stainings and selective darkening of the image. Sometimes, a mist of bleach is used discretely to control lights and darks. When completed, the paper is saturated with shellac, polyurethane or beeswax to seal it in a state of stasis. The end results are often perceived as material other than paper.